Looking to convert your cellar into usable space?

Cellars can be the forgotten gem of your house. Their cold, damp appearance and underground nature means they are often overlooked in favour of loft conversions or traditional extensions, but basements can be transformed into some fantastic living spaces more easily and cost effectively than you think! Our full waterproofing system is the most comprehensive solution to protect your cellar from water ingress and create useable space.

Waterproofing Stages

Below are the key stages your basement will undergo to be transformed from damp and dismal to water free and useable:

Stage 1: Preparation

The basement is completely stripped back and prepared. At this point, if any structural alterations are required, such as the removal of internal walls or the installation of a light-well are undertaken, and appropriate RSJ supports are put in.

The existing cellar floor is removed. To ensure good head height is achieved upon completion, and to allow for a new insulated floor slab the floor may need to be excavated. Depending upon the depth of the existing foundations, underpinning may be required.

Stage 2: Basement Drainage

The key to durable waterproofing starts with good basement drainage.

•A sump pump system is installed in the worst affected area within the basement. This is usually the lowest point within the cellar.

•A perimeter drainage system is installed around the entire outside of the basement in a continuous loop. This feeds any water penetrating through the walls towards the sump pump. The drainage system alleviates water pressure at the weak point of wall to floor joints, where water ingress commonly begins.

Stage 3:Cellar Tanking

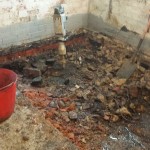
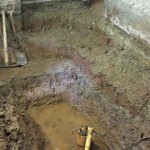
Once the basement drainage system has been installed, we need to completely tank the cellar to ensure no water penetrates into the space.

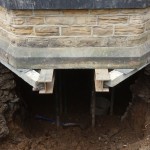
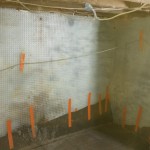
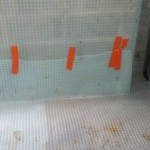
• A specially designed cavity membrane is fixed to the internal walls using watertight compression plug fixings. The membrane allows the walls to breathe, but prevents water penetrating into the space. Instead water is directed down to the perimeter drainage system to be fed into the sump pump system.

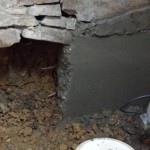
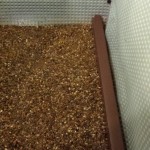
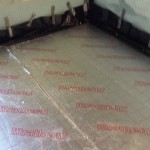
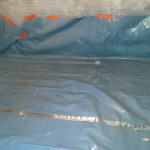
• A waterproofing membrane system is applied across the floor and is attached to the entirety of the perimeter drainage system to prevent any damp rising through the new floor. Instead, it forces water across to the sides of the cellar, where it enters the perimeter drainage system to be discharged through the sump pump.

Stage 4: The New Floor

In compliance with Part L of the Building Regulations (conservation of fuel and power) the cellar is fully insulated on the floors and walls.

• Kingspan insulation is laid over the waterproof floor membrane

• A secondary waterproof membrane is placed over the floor insulation, and then the concrete floor slab is applied.

At this stage the comprehensive basement waterproofing system has been fully installed, and your basement is water-tight. It can now be used for storage or converted into additional living space at a later date.

If you are planning to convert your basement into additional living space at the same time as having it waterproofed, we will work with you throughout the waterproofing to integrate design features such as underfloor heating, or incorporate plumbing for an additional bathroom or utility area. Please see our Cellar Conversion page for more details.